How to Set Up a VPN on Android: From Install to First Connection
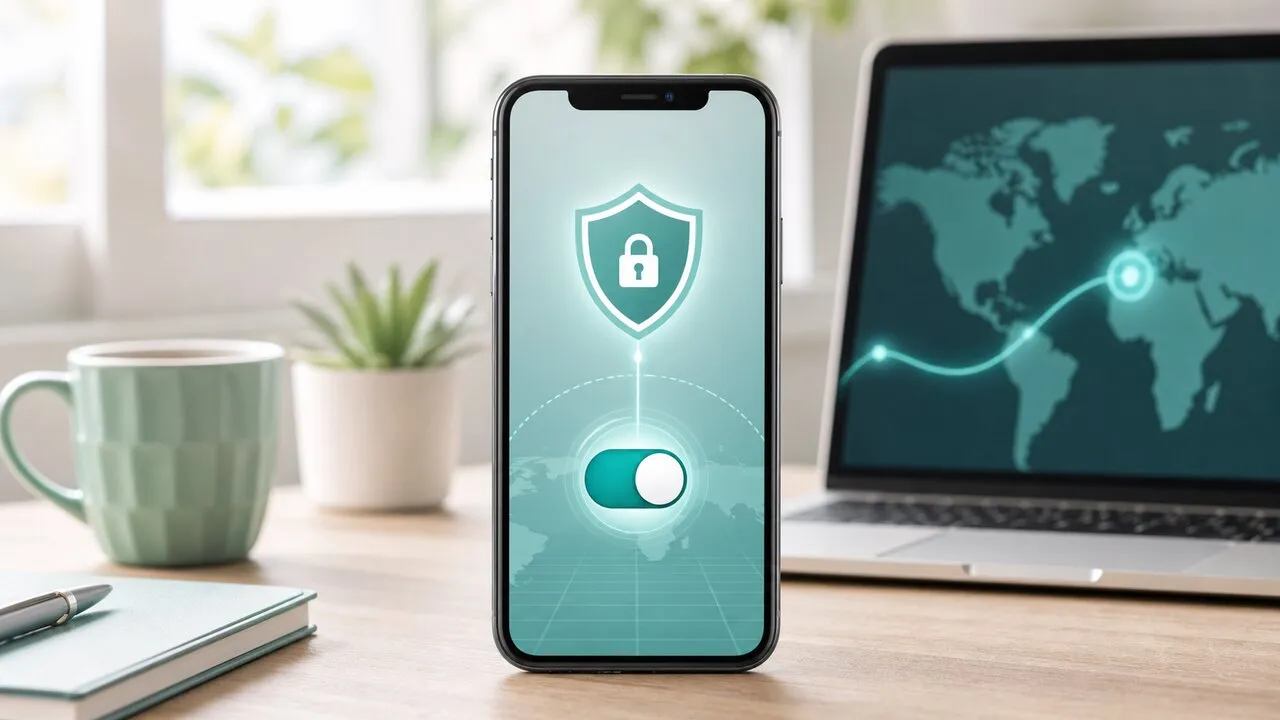
Setting up a VPN on Android takes about five minutes and no manual configuration. With Lubi VPN you download the app from the official website, log in with the email you used at checkout, approve a single system connection request, and choose a server. After the first time, connecting is one tap from inside the app.
What you need before you start
- An Android phone or tablet running Android 7.0 or later.
- A Lubi VPN account — created when you pick a plan on the pricing page and check out with your email. Standard gives 60GB of high-speed data a month; Pro gives 200GB with access to all server locations and is the most popular choice; ProMax gives 500GB. Every plan has a 30-day money-back guarantee and none auto-renew.
One subscription covers all your devices, so the same login also works on your tablet, Mac, and Windows PC.
Install the app from the official website
Go to the official download page and download the Android app from there. Getting it straight from the website makes sure you install the genuine Lubi VPN rather than a similarly named app. Open it once the download finishes.
Approve the VPN connection request
Log in with your checkout email. The first time you connect, Android shows a system dialog titled “Connection request”, asking permission for Lubi VPN to set up a VPN — this is Android’s standard, one-time prompt for any VPN app. Tap OK. A small key icon then appears in the status bar whenever the tunnel is active, which is how you confirm at a glance that you’re protected.
Choose a server and connect
Pick a server. For everyday browsing, “Auto” or the nearest Asia-Pacific location is usually fastest; choose a specific country only when you actually need it, such as connecting back to Taiwan from overseas. Lubi VPN’s network is built around Asia-Pacific, so nearby servers tend to stay quick and stable.
Keep the connection stable in the background
Android is aggressive about closing background apps to save power, which can occasionally drop a VPN you expected to stay on. Two built-in Android settings prevent that:
- Battery optimization: In Settings → Apps → Lubi VPN → Battery, set it to Unrestricted so the system doesn’t suspend the tunnel.
- Always-on VPN: In Settings → Network & internet → VPN, open the gear next to Lubi VPN and turn on “Always-on VPN” so Android reconnects automatically after a reboot or a network change.
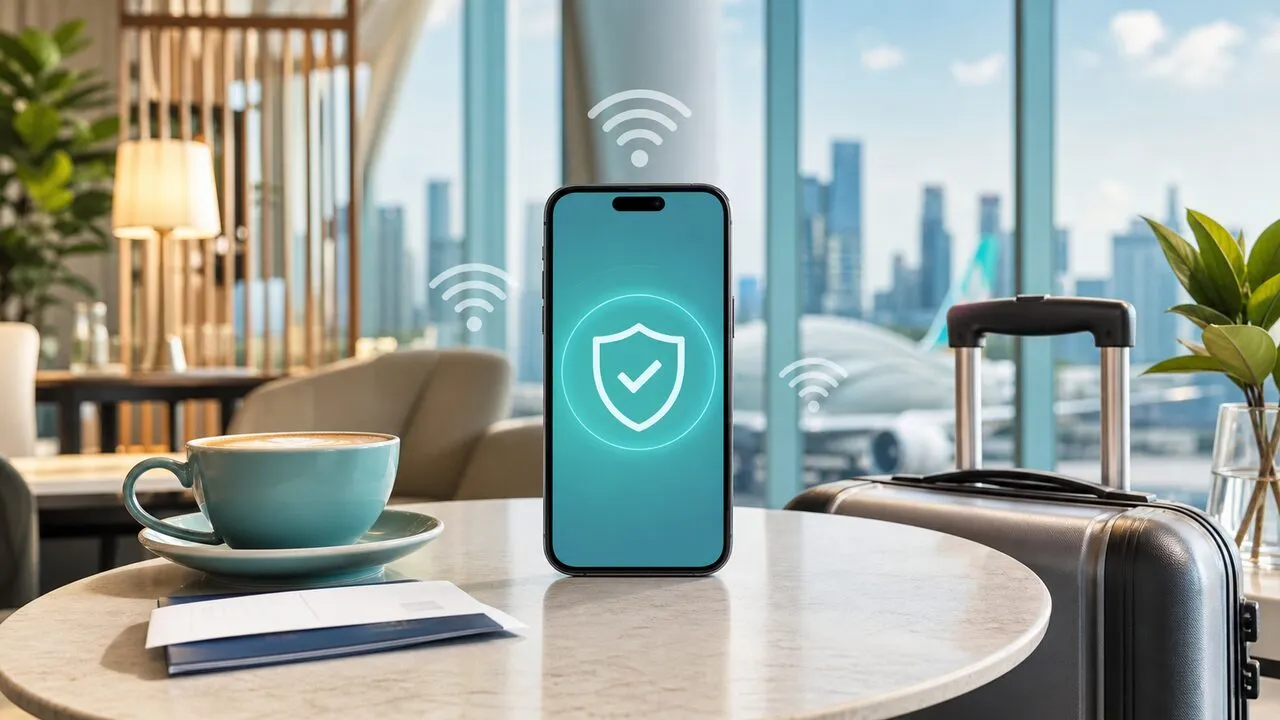
Whether you want it always on depends on where you are — there’s a simple rule in our public Wi-Fi checklist.
Common questions
Is the Android flow different from iPhone? The idea is the same, but Android uses a “Connection request” dialog instead of iOS’s configuration profile, and it adds the battery and always-on settings above. On an iPhone, follow the iPhone setup guide instead.
It disconnects when I switch networks. Moving between Wi-Fi and mobile data triggers a quick reconnect; that’s normal. Turning on Always-on VPN smooths it over.
Does it use a lot of data or battery? Encryption adds a small overhead, but in daily use it’s hard to notice next to video and screen time.
Conclusion
Android setup with Lubi VPN is install, log in, approve once, connect — then two optional settings make it stay put in the background. Do it once at home, test the connection, and every café or hotel network afterward is a single tap.